Looks like my blog posts are like Sherlock TV Show episodes, posting once in a while…anyways I’m back now. As you might know, GitHub recently launched GitHub Actions where people can automate workflows like build, test, and deploy code from GitHub.
I have started reading docs a little bit, I have to admit, setting up workflows on GitHub Actions is not that hard. I can directly start creating a workflow from available workflow templates in the “Actions” tab. Then I saw the workflow template for “Jekyll Site CI/CD”, which builds the Jekyll site. I got some feeling that I automate my workflow of building and deploying my blog (which currently you are reading) on GitHub Pages. So, Let’s see how I setup CI/CD
But first, let me explain how my blog site works and then the manual steps every time I do to publish a blog.
GitHub Pages
This blog site is powered by GitHub Pages which you can publish static Html site right from the GitHub repository (For
example my repo here). All you have to do is to create a repo name
like <YourGitHubUsername>.github.io and drop static Html pages in the master branch. That’s it, GitHub does the
magic, and serves your website.
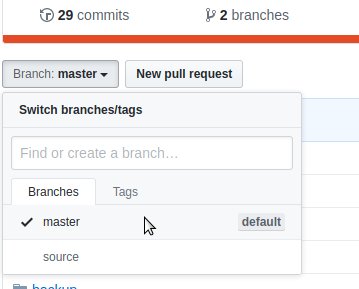
For this, I’m maintaining 2 branches, one for my markdown source files in
source branch and another for static Html site in
master branch
Jekyll
Everything’s good so far, but we know that we are too lazy to write Html pages. So, that’s where this tool
“Jekyll” comes into the picture, which converts markdown files to static Html websites. Once
you jekyll build, it will build a static website in the _site directory. For local testing, you can run
jekyll serve to see how the site looks. (Check out my other
post to know how to install jekyll)
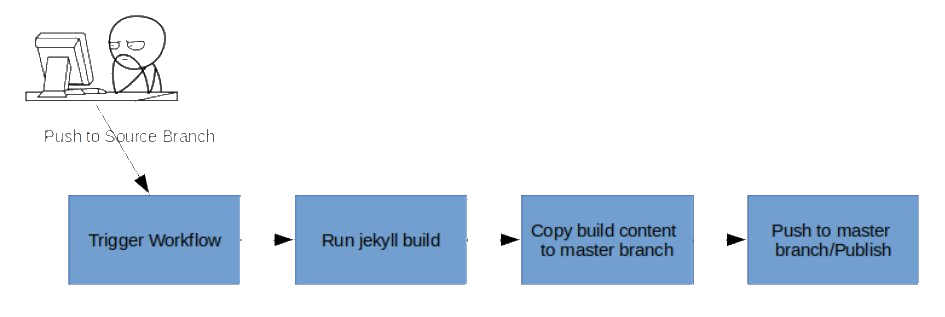
My Manual Workflow
- Write a blog post in markdown files which I keep in the
sourcebranch (Obviously I can not automate this step 😜) - Run
jekyll buildto build static website - Copy static website content from
_sitetomasterbranch - Push
masterbranch changes to the repo to publish the website - Push
sourcebranch changes to the repo to store/version tracking
GitHub Actions
Below is the jekyll.yml to automate my workflow
Let’s go through the jekyll.yml line by line very briefly
| Line No. | Description |
|---|---|
| 3 | Event subscription; I want to trigger the workflow only when there is any push in the “source” branch |
| 11 | I want to run this build procedure on ubuntu box(GitHub action supports other box as well like windows, mac, etc) |
| 16 | In order to build, first I have to clone the repo, for this, there is ready made action called “actions/checkout@v2” which checkouts my repo with the “source” branch |
| 21 | Since I can’t expect GitHub servers to have “jekyll” installed, I built my own docker image for jekyll with dependency gems to build a website. (You can find other jekyll docker image, I’m using an older version of jekyll, that’s why I built my own) |
| 28 | I want to push static website to the “master” branch, so I have to check out “master” branch as well |
| 33 | Copy “_site” content to master branch |
| 37 | Normal shell commands, git add and git commit |
| 44 | Finally push changes to “master” to publish the website with help of using ready made action “ad-m/GitHub-push-action@master” |
Now, all I have to do is drop jekyll.yml in the .github/workflows/ directory to GitHub to pick up my workflow. Below
is the picture showing the pipeline for my website deployment.